
Sensory bins are an incredible way to engage toddlers in hands-on play while stimulating their senses, encouraging creativity, and enhancing fine motor skills. A Spring-themed sensory bin brings the season’s vibrant colors, textures, and themes to life in a way that’s perfect for little hands and curious minds.
Ready to create your own? Here’s how to design a fun, safe, and engaging Spring-themed sensory bin that your toddler will love!

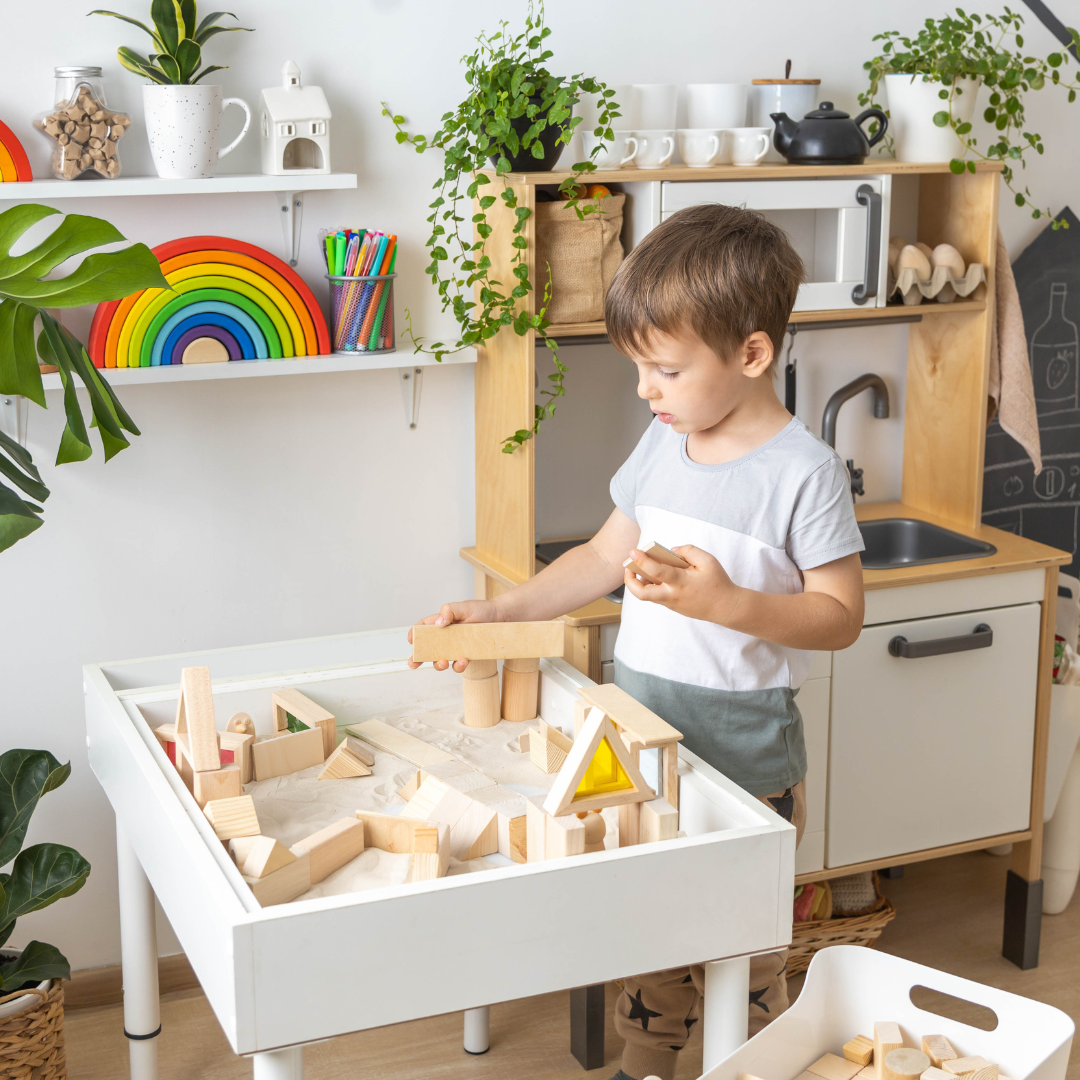
1. What is a Sensory Bin?
A sensory bin is a container filled with materials and objects designed to stimulate a child’s senses—touch, sight, sound, and sometimes even smell. It provides endless opportunities for exploration, creativity, and learning through play.
2. Benefits of Sensory Play for Toddlers
Creating a Spring-themed sensory bin isn’t just fun—it’s also educational. Sensory play helps toddlers:
- Develop fine motor skills by grasping, scooping, and pouring.
- Improve focus and problem-solving skills through open-ended exploration.
- Learn new vocabulary by identifying objects, colors, and textures.
- Experience calming effects through hands-on interaction with soothing materials.
3. Materials You’ll Need
The materials for your sensory bin depend on your Spring theme, but here are some general ideas to get you started.
Base Materials (Choose One):
- Dyed rice in pastel colors (easy to make with food coloring and vinegar).
- Green shredded paper or Easter grass for a grassy effect.
- Dry beans or lentils in soft Spring colors.
- Cloud-like cotton balls for a fluffy texture.
Spring-Themed Add-Ins:
- Plastic flowers, butterflies, or ladybugs.
- Mini plastic eggs or toy chicks.
- Small rubber ducks or frogs.
- Pom-poms in pastel colors.
- Smooth river stones or pebbles for a natural touch.
Tools and Accessories:
- Scoops, tongs, and small cups for pouring and picking.
- Child-safe tweezers to improve fine motor skills.
- Small buckets or bowls for sorting.

4. How to Assemble Your Spring-Themed Sensory Bin
Step 1: Choose Your Container
Pick a shallow plastic bin or tray that’s easy for your toddler to reach into but deep enough to contain materials. A storage container or even a baking tray works well.
Step 2: Add Your Base Material
Spread your chosen base material evenly across the bottom of the container. For example, pastel-dyed rice creates a colorful backdrop, while shredded paper mimics grass.
Step 3: Layer in Spring-Themed Items
Scatter your add-ins across the base. For example, you can place plastic flowers in one area, mini eggs in another, and pom-poms throughout to create an inviting scene.
Step 4: Include Tools and Accessories
Add scoops, tongs, or cups to encourage scooping, sorting, and pouring. These tools promote fine motor skills and allow for endless play opportunities.
Step 5: Supervise and Play
Sit with your toddler as they explore the sensory bin. Ask open-ended questions like, “What color is this flower?” or “Can you find the butterfly?”
.png?width=350&height=350&name=Blog%20Photos%20(1).png)
5. Creative Variations for Your Spring Sensory Bin
Switch up your sensory bin by trying these creative variations:
Flower Garden Bin
Use black beans as “soil” and include plastic flowers, small gardening tools, and mini watering cans for pretend planting.
Rainbow Bin
Create a rainbow effect with rows of dyed rice or beans in red, orange, yellow, green, blue, and purple. Add cotton ball “clouds” and mini rainbows.
Bug Explorer Bin
Fill the bin with Easter grass and hide small plastic bugs like ladybugs, butterflies, and beetles. Include magnifying glasses for bug hunting.
Water Sensory Bin
Use water as the base and add floating items like rubber ducks, lily pads, and toy frogs. This is perfect for warmer Spring days.

Creating a Spring-themed sensory bin for toddlers is a fun and rewarding way to celebrate the season while encouraging hands-on learning. With just a few simple materials and a bit of creativity, you can provide hours of educational entertainment that will leave your child smiling.
Start building your sensory bin today and watch as your toddler dives into a world of Springtime wonder!